
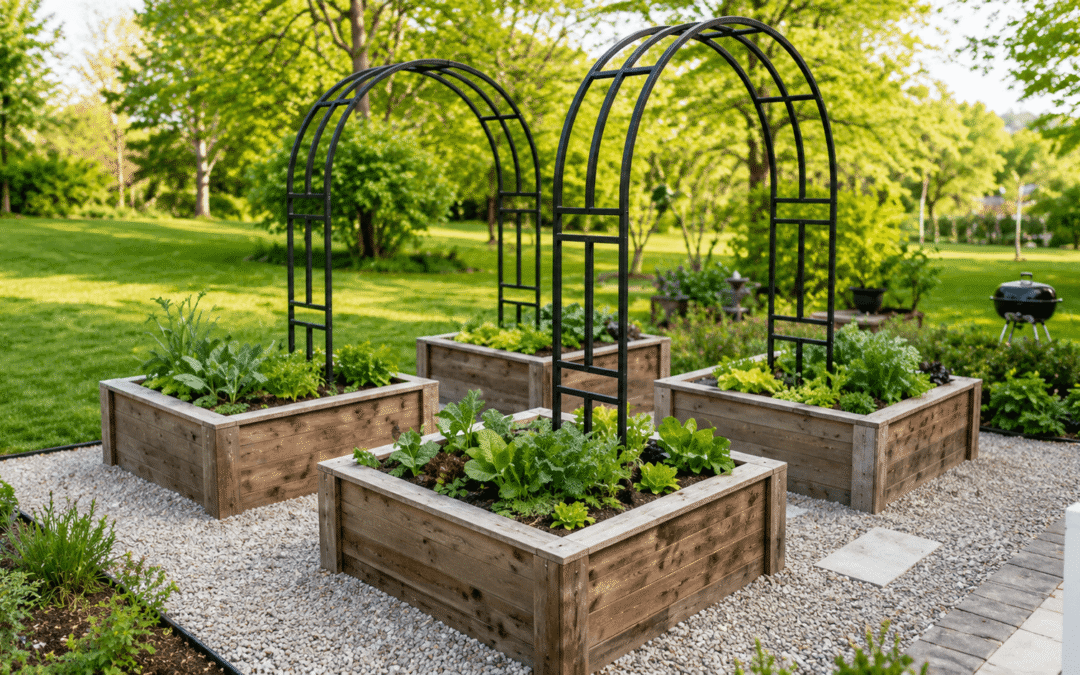
Raised Bed Gardening for Beginners
Skip the Rookie Mistakes and Grow Like You Mean It
If you’ve ever planted a garden and ended up with sad, stunted plants—or worse, absolutely nothing—you’re not alone.
Around here in Colorado, gardening in the ground can feel like trying to grow vegetables in a parking lot.
Let me guess…
- Your soil is hard as a brick
- Water either vanishes instantly or just sits there like a swamp
- Weeds show up like they pay rent
- And your plants? They struggle… every single season
That’s not you. That’s your soil.
And that’s exactly why raised bed gardening has taken off.
The Fix: Stop Fighting Your Soil
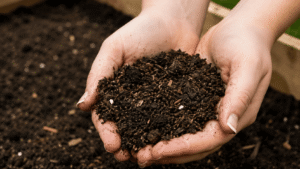
Raised beds flip the script completely. You’re no longer at the mercy of whatever’s in your yard.
You control:
- The soil
- The drainage
- The nutrients
- The outcome
Cleaner. Simpler. More productive. And honestly? A whole lot more fun.
1. Start with the Right Bed (Don’t Overbuild This)
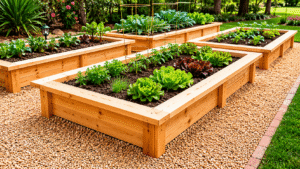
Keep it simple. This is where most beginners overcomplicate things.
- Ideal size: 4×4 or 4×8 feet
- Height: 12–18 inches
- Materials: cedar, redwood, cypress, metal, or even cement block
- Cap the top with a 2″×6″ or 2″×8″ board to use as a seat while gardening — it also gives the bed a more finished look.
Garden Wise Guy Rule: If you can’t reach the middle without stepping in it… it’s too wide. Period.
Bed Depth
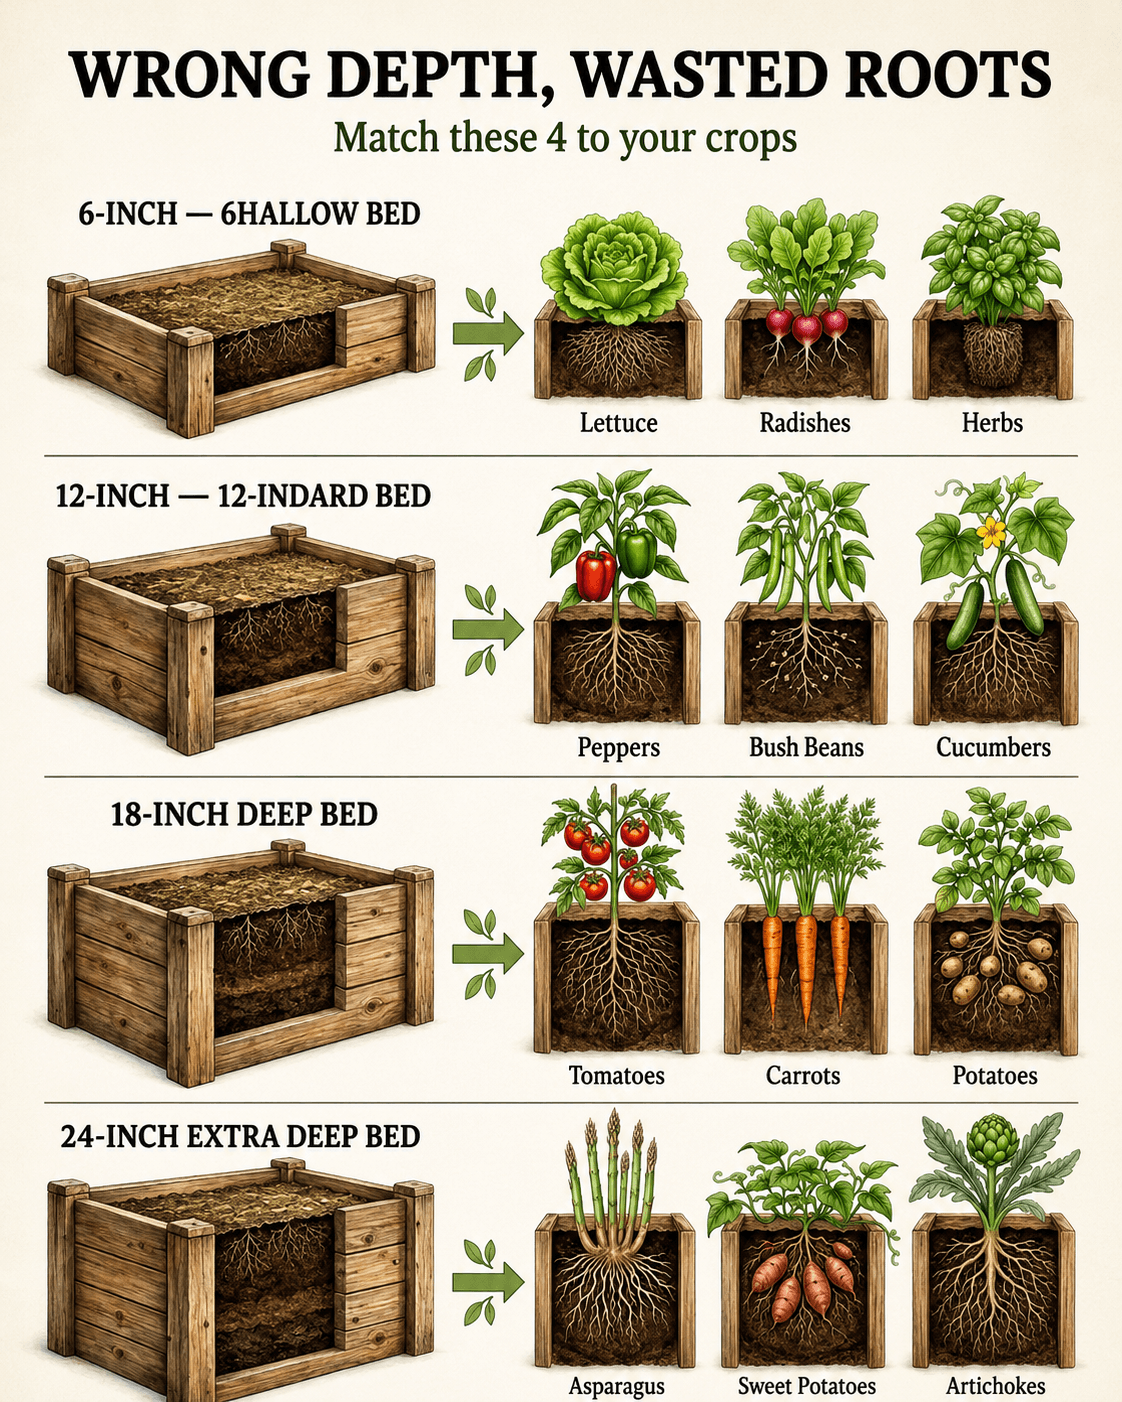
Every raised bed at the same height means some crops get too little soil and others get more than they’ll ever use. Each crop’s root system needs a specific depth. Too shallow and roots hit bottom, fork, and starve the plant. Too deep and you’re paying for soil that nothing reaches.
- 6 inches — enough for lettuce, radishes, and most herbs. These crops spread wide, not deep.
- 12 inches — handles peppers, bush beans, and cucumbers. Their roots need room to anchor.
- 18 inches — unlocks the full potential of tomatoes, carrots, and potatoes. Carrots especially punish shallow soil.
- 24 inches — reserved for perennial producers like asparagus, sweet potatoes, and artichokes. These crops build root networks over multiple seasons.
2. Soil Is Everything (This Is Where Gardens Are Won or Lost)
This is the most important step. Happy roots, happy shoots.
Do not just shovel in native soil and hope for the best. That’s how you end up right back where you started.
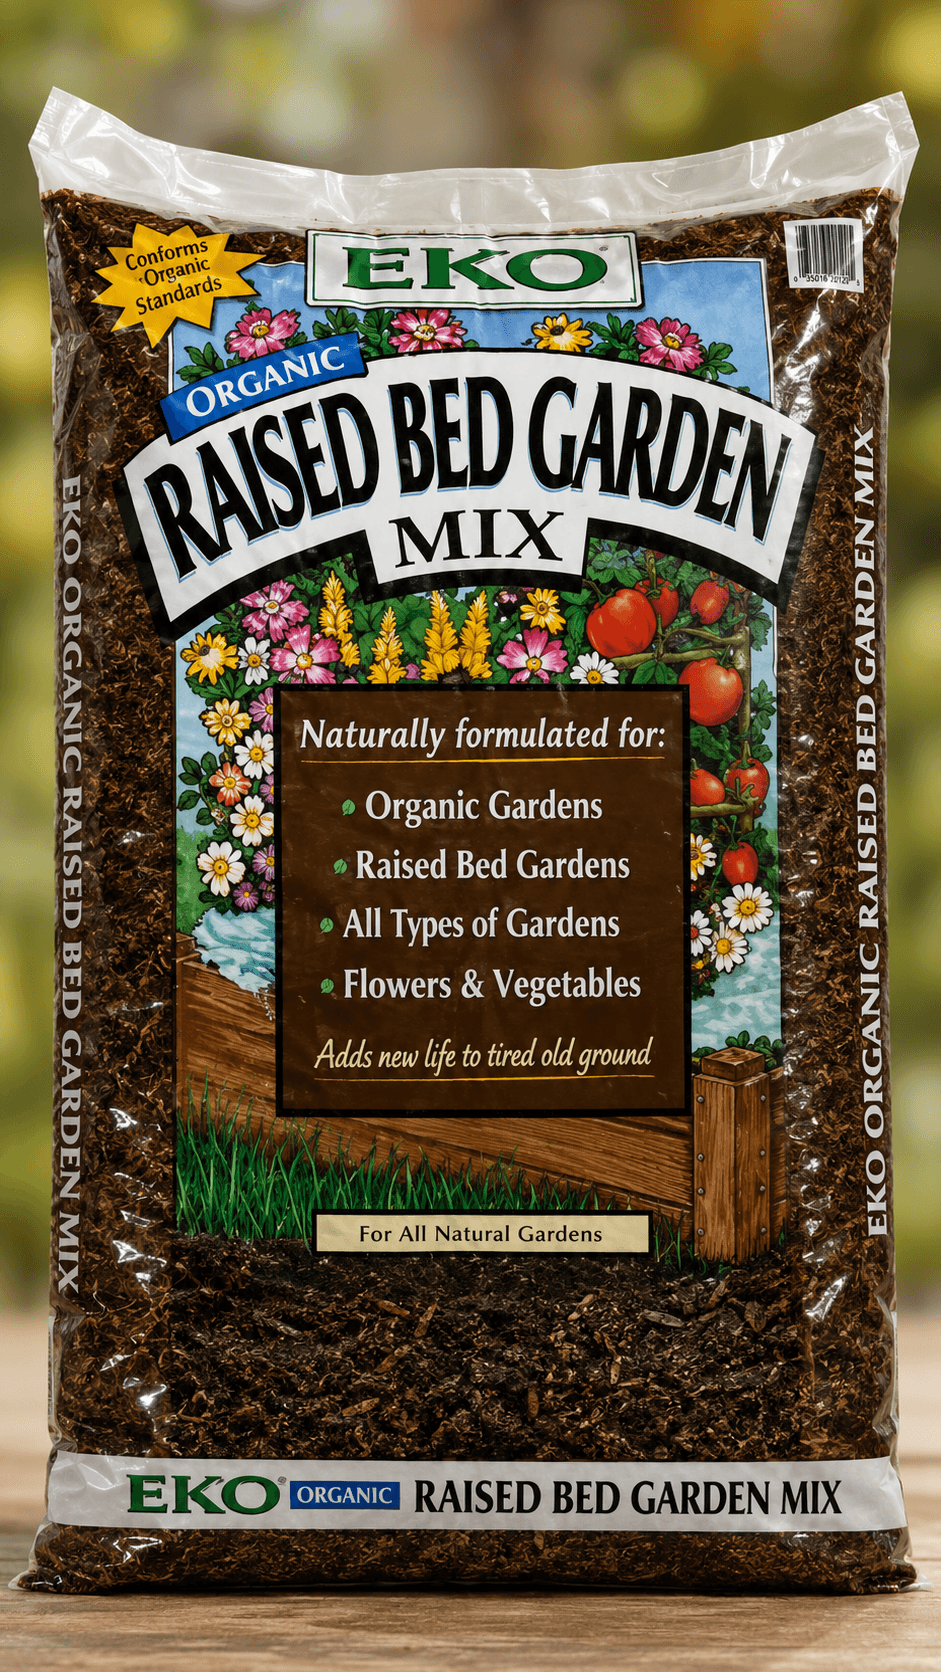
Your easiest win:
- Buy a quality raised bed mix (bulk or bagged)
If you want to DIY it:
- 40% topsoil
- 40% compost
- 20% aeration (perlite or horticultural grit)
That mix gives you:
- Drainage
- Nutrients
- Root growth
Simple truth: Good soil = good garden. Bad soil = frustration.
3. Water Smarter (Not More)
Raised beds drain faster. That’s a good thing—but only if you adjust how you water.
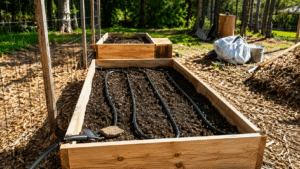
- Water deeply as needed — not a sprinkle every day
- Water early morning
- Use drip irrigation or soaker hoses whenever possible — leave them on long enough to get water down to a depth of 6″ or more
- Hand watering is fine for germinating seeds or newly transplanted plants, but not an effective way to water established plants
If the top inch is dry… it’s time to water. If your plants are wilting mid-day, it may not mean you need to water — many plants wilt during the heat of the day as a protection mechanism. They lower their leaves to avoid water loss, then perk up in the evening. Check the soil with your fingers or a moisture meter before you water.
If you’re watering every day, you’re probably doing it wrong.
4. Plant Like a Beginner Who Wants to Win
Don’t try to grow everything your first year. That’s a fast track to burnout. Start with crops that actually want to grow.
Early Season (Cool Season) Crops
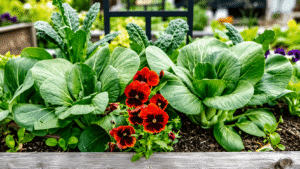
- Lettuce
- Radishes
- Spinach
- Beets
- Chard
- Kale
Warm Season Crops
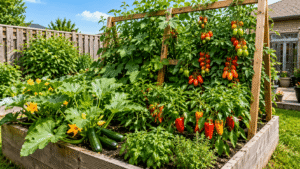
- Bush beans
- Squash
- Cucumbers
- Tomatoes (after frost)
- Herbs
Colorado timing matters:
- Cool-season crops: April and early May
- Warm-season crops: around Memorial Day — these crops need warm soil
5. Maintain It Without Overthinking It
Raised beds are easier—but they’re not zero maintenance. Here’s what actually matters:
- Add 1–2 inches of mulch (straw or dried grass clippings)
- Skip bark mulch — it ties up nutrients
- Feed lightly every 3–4 weeks
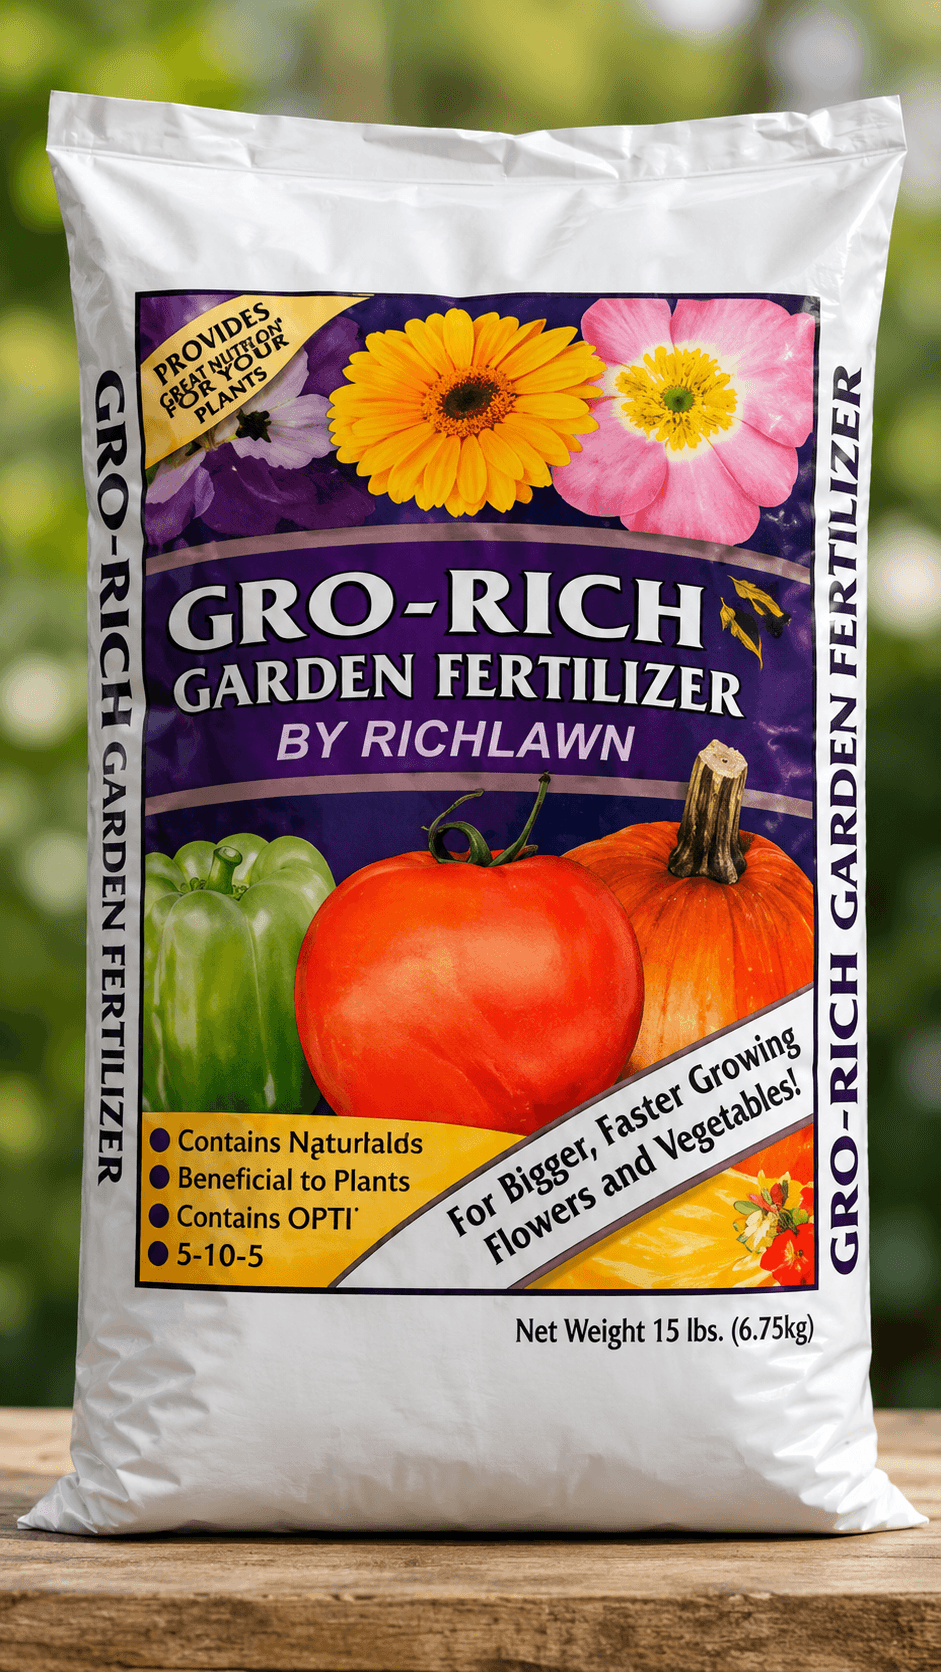
- Use a granular, balanced fertilizer for vegetables with added calcium (your tomatoes will thank you)
Raised beds = less work… not no work.
Final Thought (This Is the Shift)
Stop fighting your soil. Start controlling it.
That’s the difference between a frustrating garden… and one that actually feeds you.
Your Next Move
- Build your first raised bed this week
- Keep it simple, but do it right
- Expand as you learn
Gardening isn’t just a hobby… it’s a lifestyle.
Stay Garden Wise, My Friends
Keep your shovel sharp, be careful where you dibble, and stay Garden Wise.
Radio Show
Saturday Mornings
Catch The Garden Wise Radio Show for practical garden talk.
Shop Now
Garden Lifestyle Gear
Browse Clever Gardening tees, hats, and gifts.
Garden Wise Answers: the best way to control bindweed in a Colorado garden, and when to plant garlic in Colorado.
Keep reading: short on bed space? growing cucumbers in containers in Colorado works on a patio, and a compost bin does not need full sun to feed those beds.
Have a Colorado gardening question of your own? Ask Keith.