
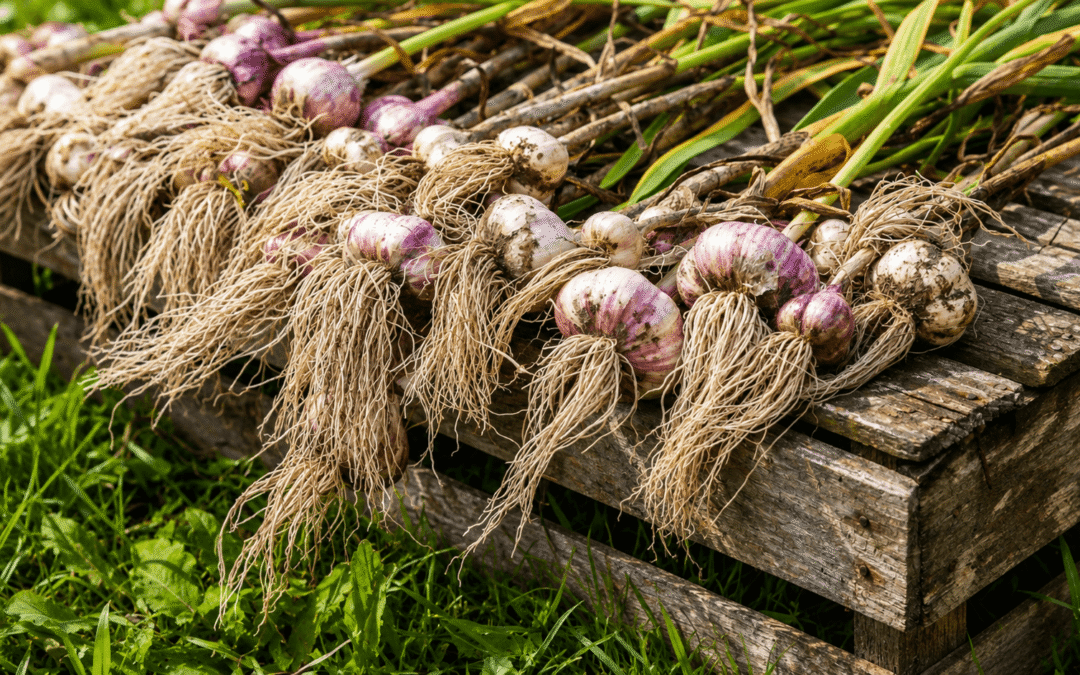
Harvesting Garlic
Garlic harvest season is one of the most satisfying moments in the garden digging up those fat, fragrant bulbs feels like striking gold. But timing and technique make all the difference between a long-storing harvest and a short-lived one.
The key signal that garlic is ready? Watch the leaves. When about half to two-thirds of them have turned brown and dried down while a few upper leaves are still green, it’s go time.
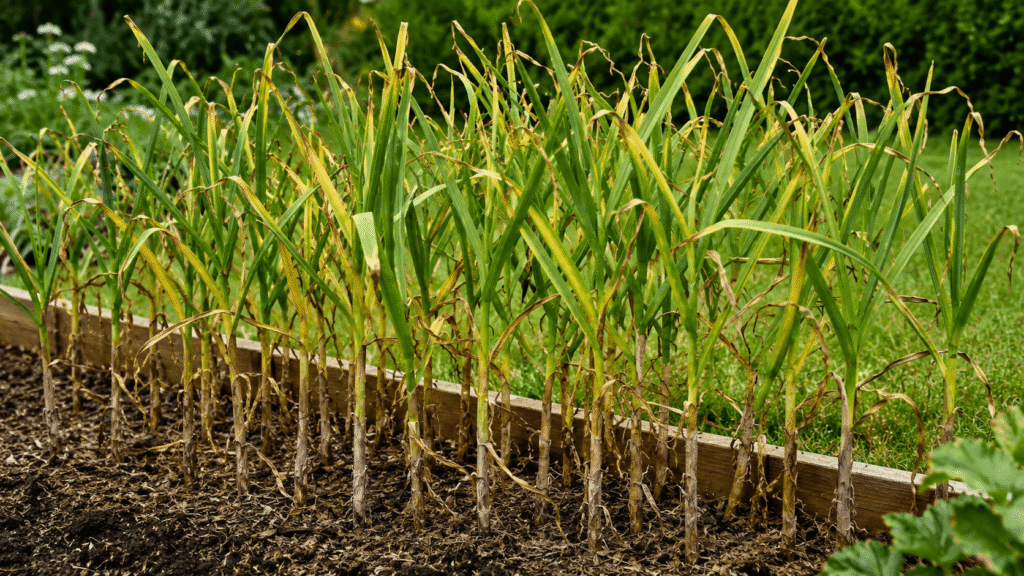
In our Colorado climate, that usually lands in mid to late summer. Harvest too early and the bulbs won’t be fully developed; wait too long and they can split open underground.
A few days before harvest, stop watering your garlic bed to let the soil dry out. When you’re ready, resist the urge to pull. Garlic stems can snap easily, leaving bulbs stuck in the soil. Instead, use a garden fork or trowel to loosen the soil a few inches away from each plant, then gently lift the bulbs out.
Once harvested, don’t wash them. Just brush off excess dirt and move them to a shaded, well-ventilated spot to cure. You can hang them upside down in small bundles or lay them out in a single layer. Good airflow is critical here; think dry, airy, and out of direct sun. Let them cure for about three to four weeks.
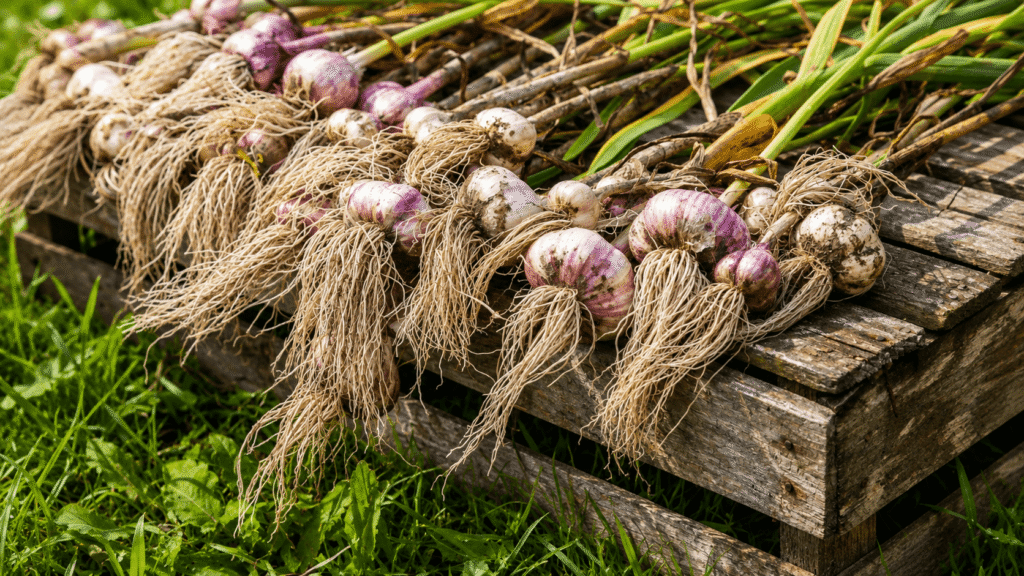
After curing, the outer skins will be papery and the roots completely dry. At that point, trim the roots down to about a quarter inch and cut the stalks to an inch or two above the bulb. If you’re growing softneck garlic, you can braid the tops for a classic and practical storage option.
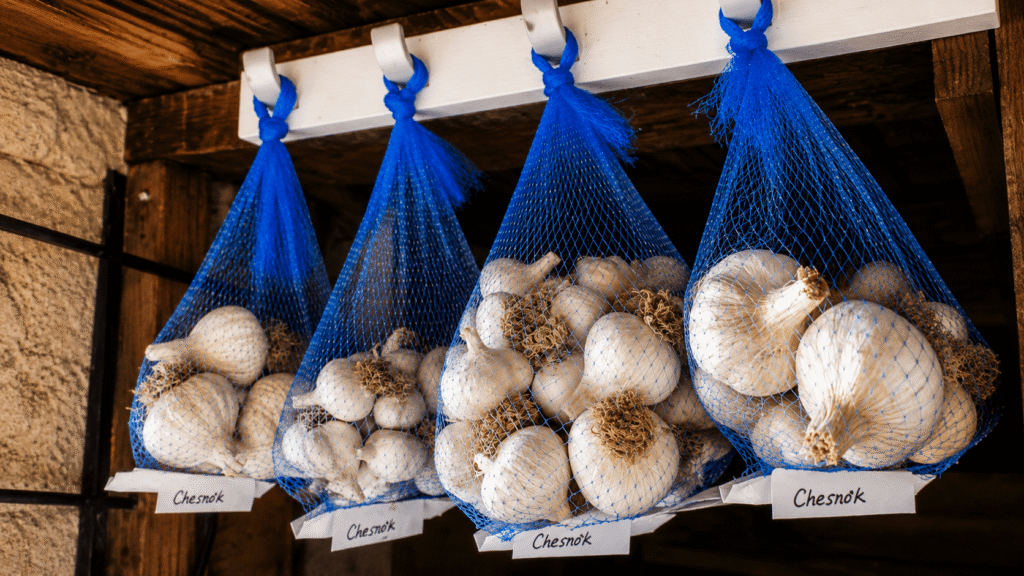
Store your finished garlic in a cool, dark place with good airflow. Mesh bags, baskets, or even an open container works well. Properly cured garlic can last four to six months, sometimes longer.
Potato Beetle
The Colorado potato beetle is a tough garden pest that feeds heavily on potatoes, tomatoes, and eggplants. The adults and larvae chew leaves, and severe infestations can quickly defoliate plants and reduce yield.
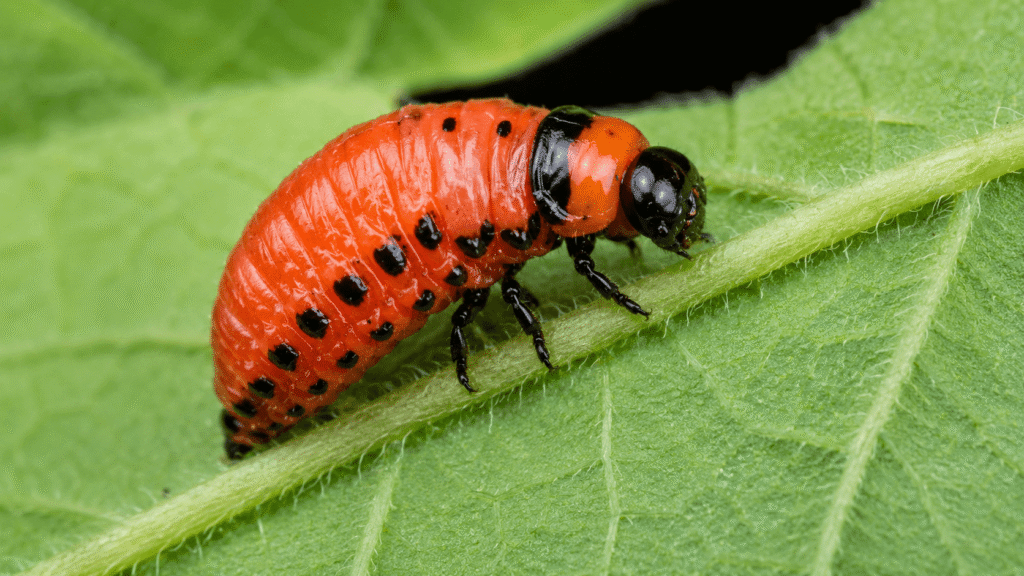
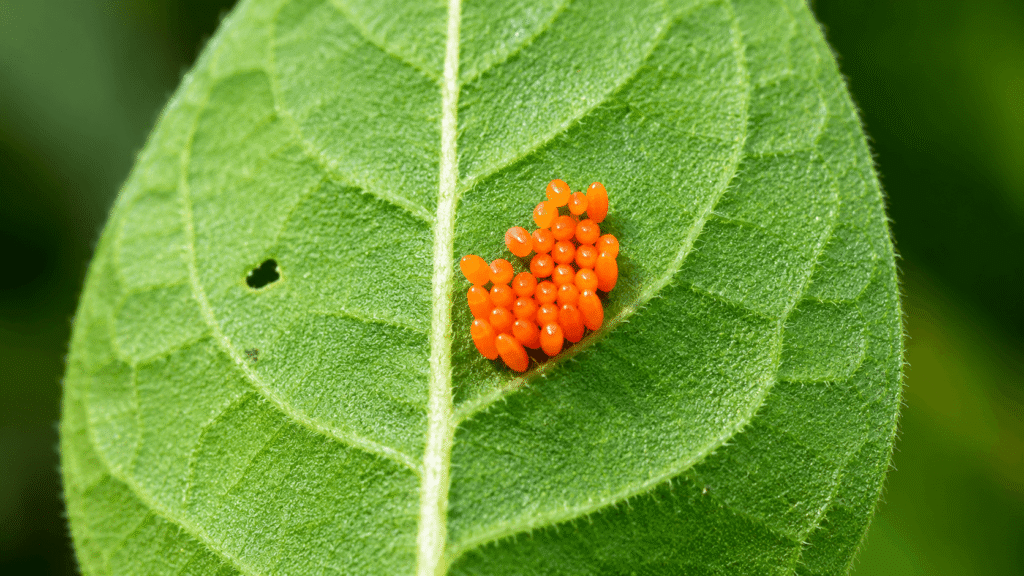
Look for yellow-brown striped adults, orange-red larvae, and egg clusters on the undersides of leaves. The best control starts early with regular scouting, hand-picking, crop rotation, and removing volunteer plants and cull piles.
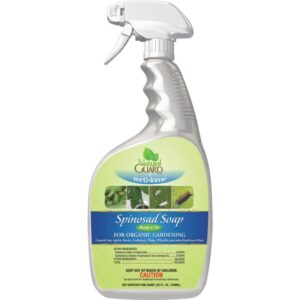 If you choose to spray, use an organic Spinosad product and target young larvae, and rotate products to slow resistance. The earlier you act, the better your chances of keeping the damage under control.
Blossom End Rot
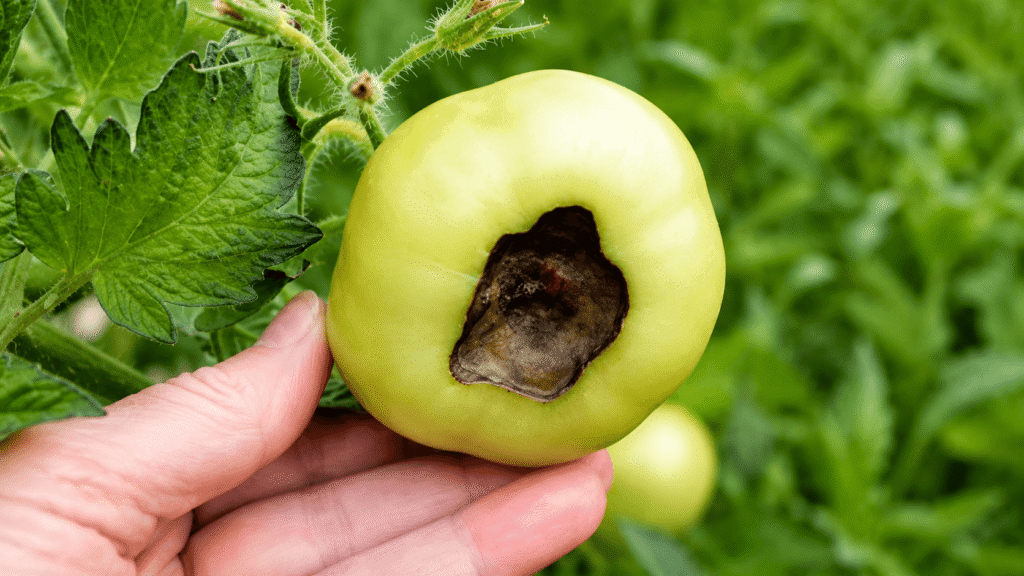
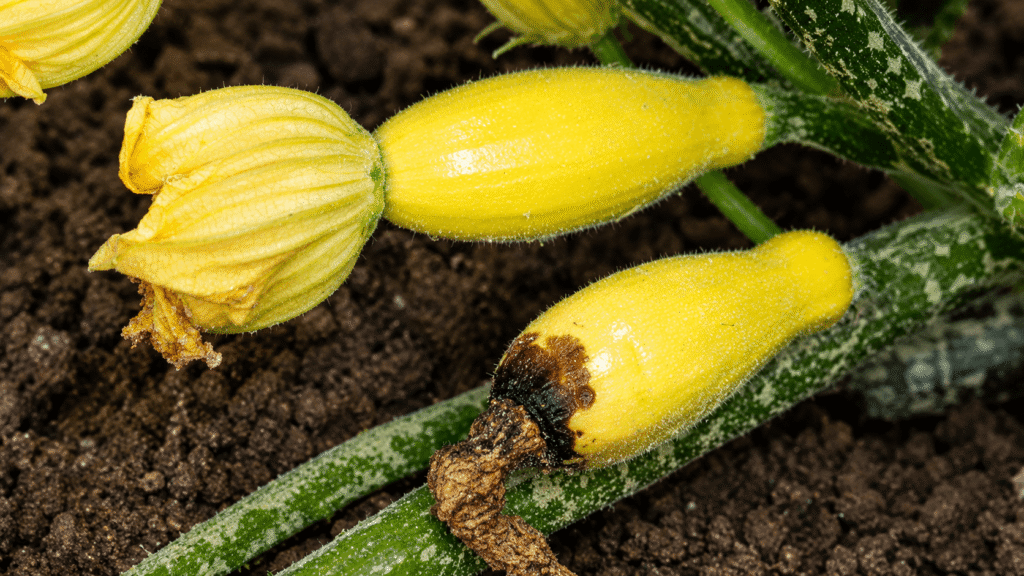
Blossom end rot is a common problem on tomatoes and other warm-season vegetables like eggplant, peppers, cucumbers, and squash. It usually shows up as a dark, sunken spot on the blossom end of the fruit. It is not caused by a fungus or bacteria; instead, it is a physiological disorder tied to calcium deficiency in the fruit, often brought on by uneven watering. These two factors are especially true in plants grown in containers.

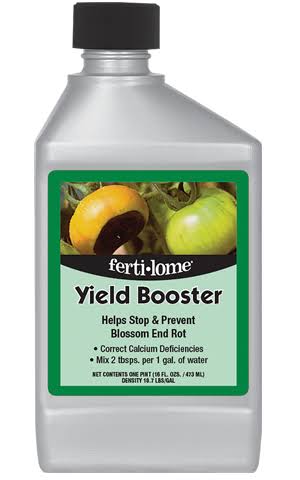
The best prevention is steady moisture. Water deeply, mulch well, and avoid letting plants swing from bone dry to soaked. Make sure you are feeding the plants regularly with a fertilizer that contains calcium. Or use a product like Hi Yield Yield Booster, a calcium supplement to use with your fertilizer program.
 Once fruit is affected, it cannot be repaired but is still edible. The plant can still produce healthy new fruit if conditions improve. Keep the soil evenly moist, check drainage, and maintain balanced fertility to give the next crop of tomatoes, peppers, squash, or cucumbers a better chance.
Trumpet Vine Not Blooming
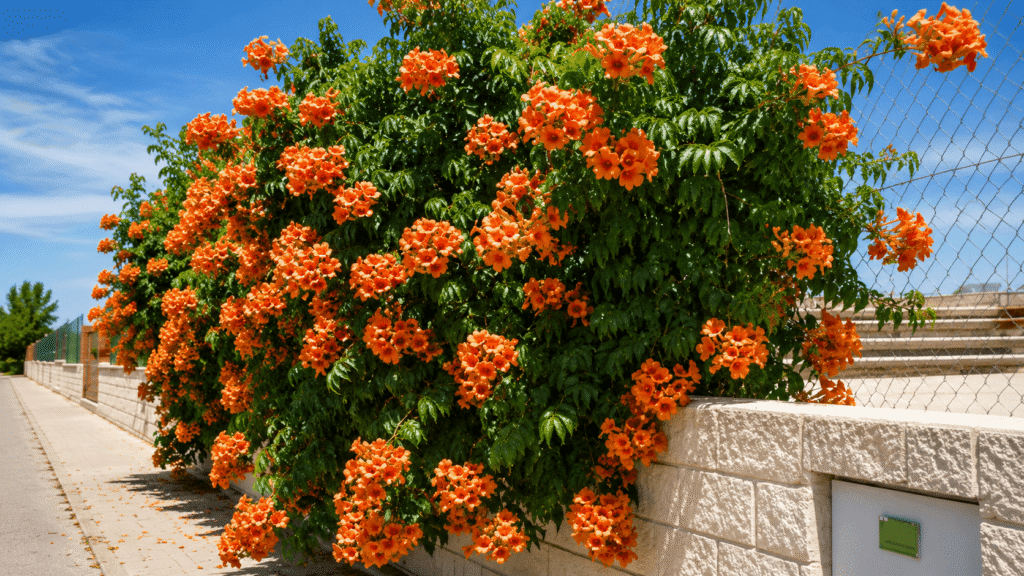
Trumpet vines (Campsis radicans) are notoriously stubborn about blooming. To encourage flowers, ensure the vine gets at least 6 to 8 hours of direct sunlight, stop using nitrogen-rich fertilizers, which only grow leaves, prune branches back heavily in late winter to encourage new wood, and give it time to mature.
The most common reasons why a trumpet vine refuses to bloom include:
- Immaturity: Vines grown from cuttings take 3 to 5 years to mature, while those grown from seed can take up to 10 years before they are old enough to produce flowers. Best to buy new plants in bud and bloom.
- Excess Nitrogen: High-nitrogen fertilizers or rich garden soil cause the vine to push out lush, green foliage at the expense of flower buds. Instead, use a low-nitrogen fertilizer or none at all.
- Improper Pruning: Trumpet vines form flower buds on new growth in the early spring. If you prune the vine in the spring, you will accidentally cut off the buds. Always prune in late winter before new growth emerges.
- Lack of Sun: While the vine can survive in partial shade, it typically requires a minimum of 6 to 8 hours of direct daily sunlight to produce an adequate bloom.
Clematis Wilt: Don’t Panic! Your Vine Will Survive!
Few things are more frustrating than watching a healthy clematis covered in buds suddenly collapse overnight. Stems turn black, wilt, and die back almost as if someone flipped a switch.
That’s the classic symptom of clematis wilt.
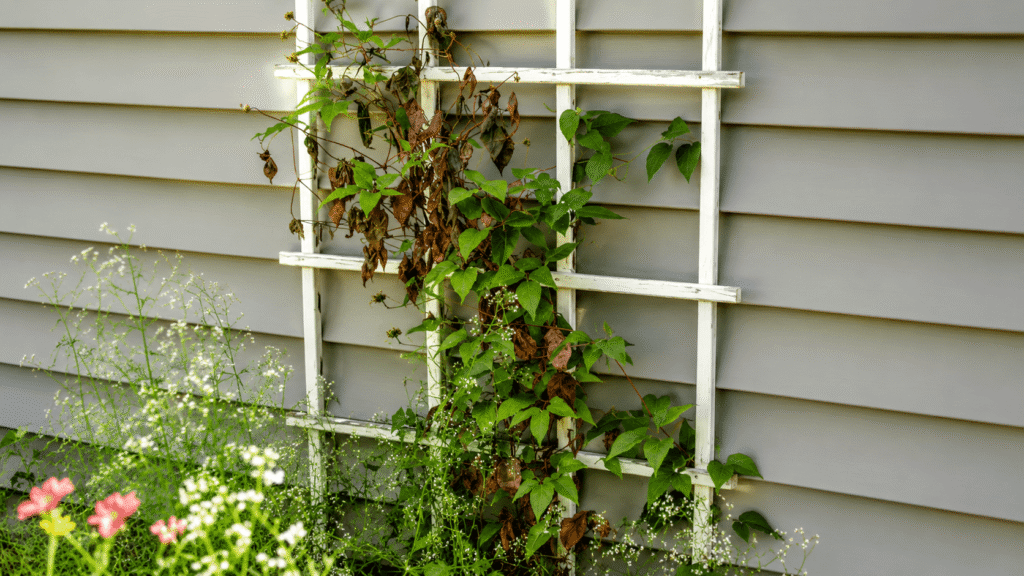
This fungal disease usually affects large-flowered clematis, especially young plants. The fungus enters through small wounds on the stems, causing them to collapse just above the soil line.
The good news? It rarely kills the entire plant. As long as the roots are healthy, your clematis will usually send up new shoots from below the damaged stems.
At the first sign of wilt, prune affected stems back to healthy tissue or even to the ground if necessary. Throw the infected stems in the trash, not the compost. Keep the plant watered during dry spells and apply a layer of mulch to keep the roots cool.
To help prevent clematis wilt, plant the crown 2 to 4 inches below the soil surface, provide good air circulation, avoid injuring the stems, and water at the base instead of overhead.
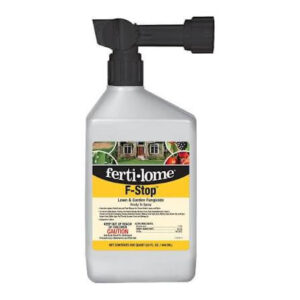 The Garden Wise Guy’s Tip: If your clematis suddenly wilts, don’t dig it up. Give it a haircut, keep it healthy, and chances are it’ll come back stronger than ever. If this is a chronic problem with your plant, use a preventative fungicide spray like Fertilome F-Stop early in the season before the symptoms show up.
Shop Garden-Inspired Gear
Browse the ShopGardenLife collection for garden-inspired tees and products made for people who love growing, learning, and living the garden life.